
How I Made This: 8 Foot Outdoor Dining Table

Just a Frame awaiting a top
Why Buy When You Can Make It?
Is sort of the Farrell Family motto. I’ve come to adapt it to consider how I want to spend energy (in the form of physical energy, time, and money), but it often ends us up in the same place — not buying something and doing it ourselves.
No better example than the outdoor dining table I made with my brother and dad in about an hour for less than $100.
Quick Refresher on the Inspiration for the Deck/Outdoor Space
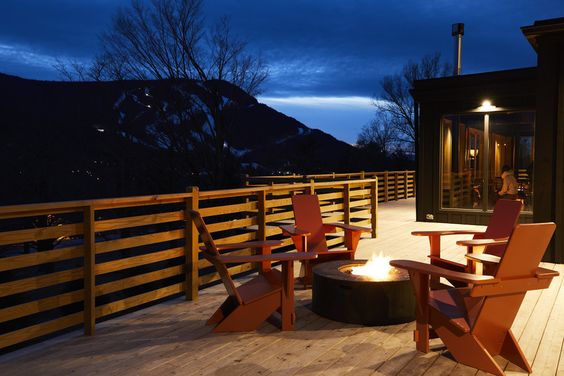


Lesson One: Outdoor Furniture is Rough.
I hadn’t really thought about outdoor furniture before I bought my house because, well, I didn’t need to. Much as I’d love to have a square of outdoor space in Brooklyn … that’s just not my reality right now. So when I had this lovely new deck to fill with furniture, it was a rude awakening trying to find things I liked.
Unlike most design challenges that can be totally solved by throwing money at the problem, I found myself in quite a pickle. Outdoor dining furniture is, by and large, both ugly and expensive, especially when you’re aiming for a big table.
A lot of searching…
through a lot of crap.
So Make it Yourself
After a scour of the internet lead me exactly nowhere, I consulted my dad to see how difficult it would be to build a table out of crap lumber. I knew I wanted it to be about 8 feet long (to seat about 8 people and make my house a nice little gathering place for friends and family), and was happy to use any lumber because I would either stain or paint it black.
Important side note: Wood quality truly doesn’t matter if you’re going to paint the finished product and especially if the piece is going to be living outside. Your goal is longevity and weatherproofing, not the smoothest, most delightful piece of oak you ever did see.
My dad said it would be no trouble, so I scoured the internet once again for a “pattern” I could tweak to suit my needs.
Internet vs Pen, Paper, & Brute Force
I found many patterns on the internet that carried various amounts of effort and tools to complete the job. I toyed with the idea of a more complex patterned top, but decided it was too fussy and went with straight wood planks leftover from the deck project.
To cut a long story short, the delicate instructions provided by the internet involving a Kreg screw system that would brilliantly hide the screws and make my outdoor dining table a piece of fine furniture …. didn’t work. We resorted to a much simpler plan, some brute force, and a few extra screws.
How It Came Together
We ended up with the following “recipe”:
4x4 pressure treated legs (29”)
2x4 pressure treated “apron” around the edges to connect the legs and support the top
1x6 cedar decking (leftover from the deck project)
Cabot Outdoor Stain (black)
Exterior screws (including the same system used on the actual deck to attach the table top boards)
And created a mini version of the table as a bench for one side.
Tools Needed:
Power Drill + appropriate drill bits for screws (This is my drill & bit set, but I also have the Ryobi One kit upstate)
Camo Screw System (used for deck boards as well. Honestly such a good investment)
Paint brush (get a crappy one, the exterior stain is really sticky so just throw it out after)


Project Cost:
~$80 lumber (all from Lowe’s, no special ordering needed)
$20 for quart of black stain (used 1/4 of it)
~$10 hardware (mostly used leftover deck screws)
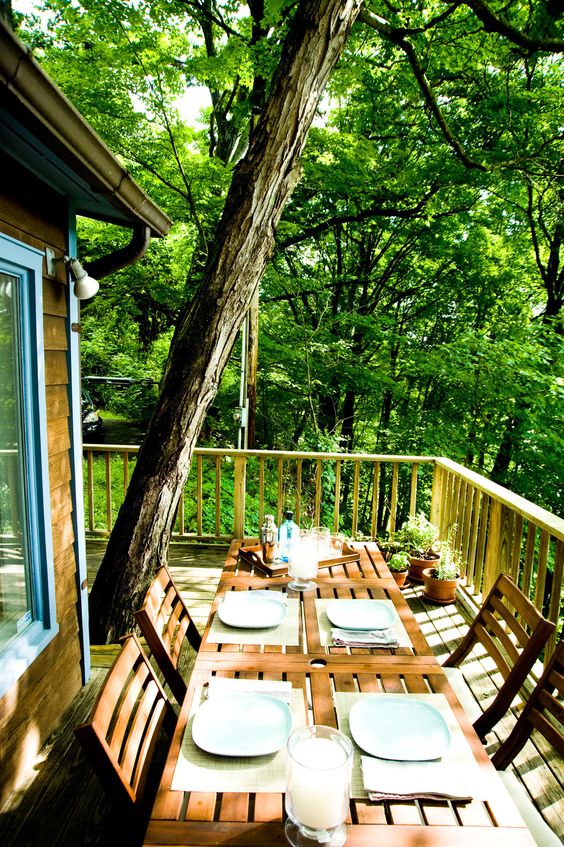
Closing Thoughts
I love this table. It weighs a million pounds, but was so easy and cheap to make and is seriously indestructible (seriously, a very large tree tried, and failed.). It fits so nicely on my deck, suits the casual country house vibe, and doubles as a railing fortification system for the winter (because it’s indestructible).
12/10 would do project again.
x